Overview
OnTheClock is pleased to offer direct integration with QuickBooks Online. This integration streamlines your payroll process and allows you to sync your employees’ hours across platforms.
Quickbooks Online Version Compatibility
OnTheClock can integrate with QuickBooks Online subscriptions Essentials, Plus, or Advanced, these versions offer time tracking capabilities.
The payroll service subscription does not matter for OnTheClock, you can have Core, Premium, or Elite paired with Essentials or higher QuickBooks online subscription plans.
Limitations
We do not send the following items over to QuickBooks Online:
- Contractor hours
- Job & costing information
- Departments
- Overtime
- Paid Time Off
- Salaried Employees
Setup
Connect to QuickBooks Online
Step 1: Log in as an administrator via browser.
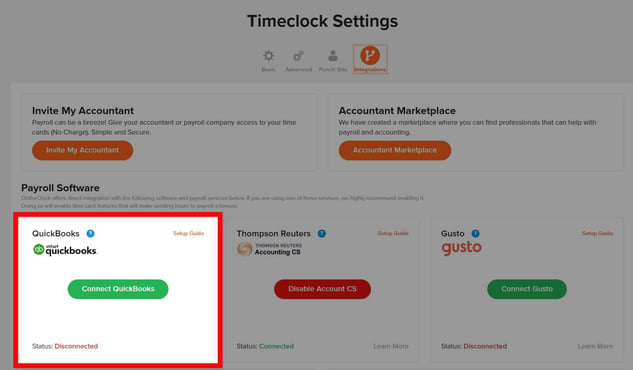
Step 2: Navigate to “Settings,” then “Time Clock Settings.”
Step 3: Click on the “Integration's” tab.
Step 4: Click the “Connect QuickBooks” button.
Step 5: Complete the authorization process.
That’s it! You’re now connected to QuickBooks Online.
What to Expect
Import Employees
Here’s how to import your employees from QuickBooks to OnTheClock:
Step 1: Log in to your OnTheClock account.
Step 2: Navigate to “My Team,” then “Team Directory.”
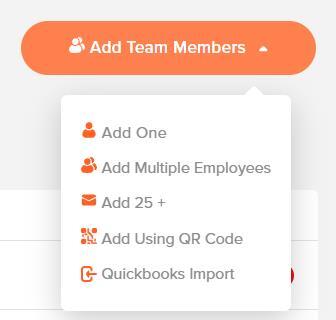
Step 3: Click “Add new team members.”
Step 4: Click “QuickBooks Import.”
Step 5: Check the names you’d like to import from QuickBooks to OnTheClock.
Step 6: Click “Import Selected.”
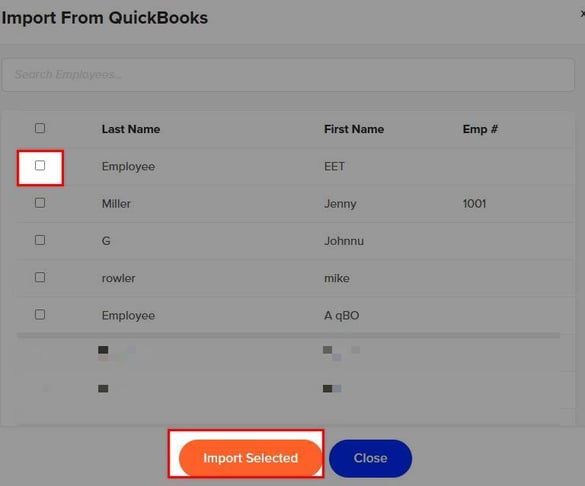
Note that, in order for the import to be successful, the employee’s ID must not include any special characters.
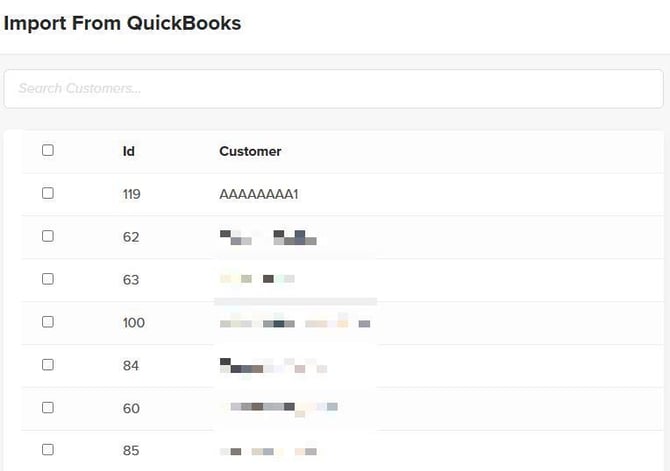
Import Customers
Here’s how to import your customers from QuickBooks to OnTheClock:
Step 1: Log in to your OnTheClock account.
Step 2: Navigate to “Settings,” then “Job and Project Costing Setup.”
Step 3: Click “QuickBooks Customer Import.”

Step 4: Check the names you’d like to import from QuickBooks to OnTheClock.
Step 5: Click “Import Selected.”
Sending your Time Cards to QuickBooks Online
Step 1: Click on “Time Cards” at the top of the screen.
Step 2: Select the “Pay Period” to export.
Step 3: Click the “Send to QuickBooks” button near the upper right of the screen.
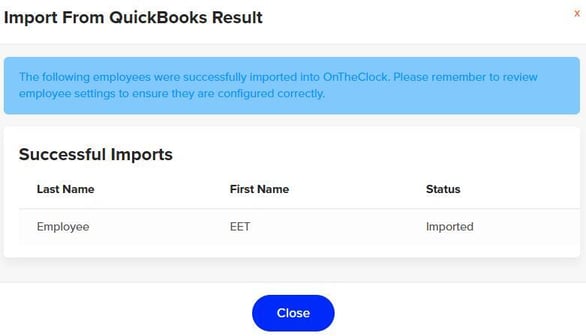
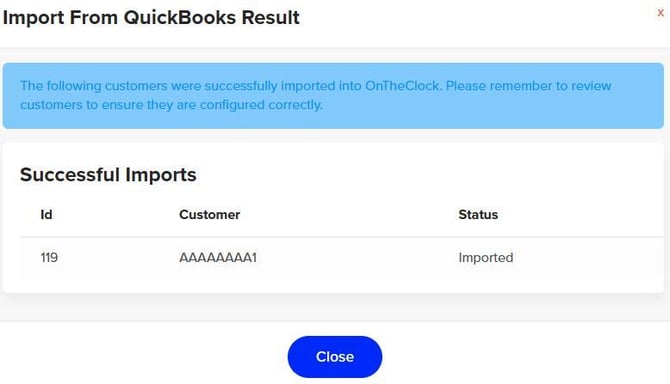
Step 4: Once exported successfully, you will receive a confirmation message from OnTheClock.

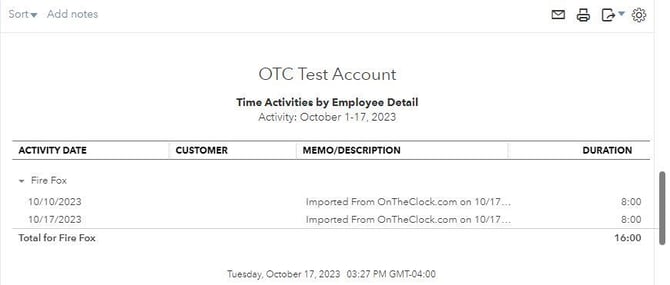
Review Hours in QuickBooks Online
Step 1: Go to “reports” on the sidebar.
Step 2: Type “Time” in the search bar.
Step 3: Click on “Time activities by employee detail.”
Step 4: Note: You must have payroll services enabled to view this report in QuickBooks Online.
Step 5: Make sure the date range matches the pay period sent from OTC.
Step 6: Click “Run Report.”
Step 7: You should see your hours listed, and it should say “Imported from OnTheClock.”
Step 8: We only send over the TOTAL hours; you will need to break out Paid Time Off and Overtime manually.
Q&A
Q: I clicked the "Send to QuickBooks" button, but I don't see my OnTheClock hours in QuickBooks Online.
A: Make sure that the employee's first and last names match between both systems, as well as the pay periods match one another.
Q: I'm not seeing the report "Activities by Employee Details."
A: Make sure that your QBO subscription plan is Essentials or higher. This report does not exist in Simple Start.