Overview
Welcome to OnTheClock! In this guide, we’ll cover everything you need to know about using OnTheClock as an employee:
- Setup
- Clocking In and Out
- Password Reset
- Check-Ins
- Notes
- Attachments
- Manual Time Card Adjustments
- Request PTO
- Approve a Time Card
- Switch Jobs
- Schedule
- Live Messaging
- Mileage
Let’s get started.
Setup
First, you’ll need to be invited to OnTheClock by your employer. If you haven’t received an invite link, reach out to your manager. Your manager or account administrator will also create your login credentials.
After creating your account, you’ll need to verify your email address. Keep a look out for an email from OnTheClock with a verification link.
Finally, download our free mobile app for iOS or Android. You can also clock-in and -out from a browser. Your manager will let you know if you’re required to use a specific device to punch the clock.
web:start
Clocking In
Step 1: Enter your credentials on the login page.
Step 2: Select “Punch In”.
Step 3: Once you receive “success”, you are successfully punched in for your shift.

Clocking Out
Step 1: Enter your credentials on the login page.Step 2: Select “Punch Out”.
Step 3: Once you receive “success”, you are successfully punched out of your shift.

Note: Your OnTheClock administrator may have additional punch settings enabled, like surveys, jobs, and check-ins. If so, you may be prompted to do more as you clock-in/-out. Keep reading to learn more about how to use these features.
Password Reset
Forget your password? We’ll help you get back online.
Click here to reset your password, or select “Reset Password” from the login page.
Additional OnTheClock Features
Your administrator may set up additional features for your OnTheClock account. Here’s how to take advantage of them.
Check-Ins
Checking in allows you to show you are clocking in at a specific location or particular time.
Step 1: Log in.Step 2: Navigate to the "Check-In" tab at the top of your screen.
Step 3: If necessary, add additional information, like notes and attachments.
Step 4: Click “Check-In”.

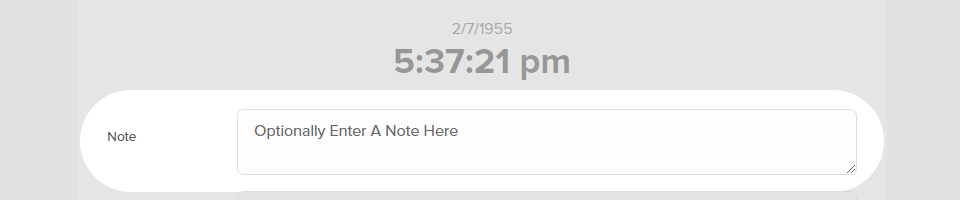
Notes
When clocking in and out, you can leave an optional note for your manager in this field. For example, you can remind him or her that you’ll be leaving early for a doctor’s appointment. This is also a good place to record if you made an error when punching the clock.
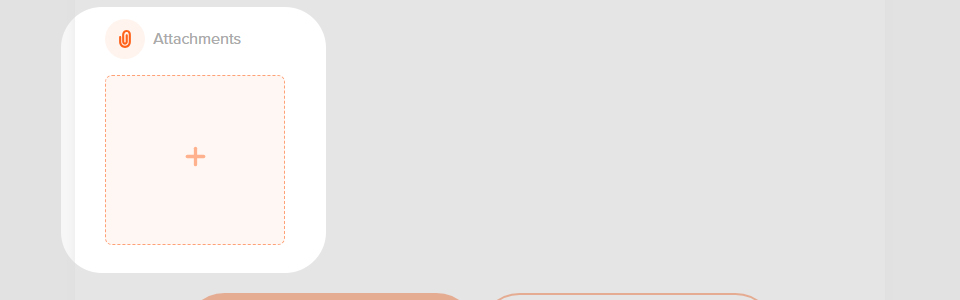
Attachments
If enabled, you can attach an image to your punch. For example, snap a photo of a receipt for reimbursement. To upload an attachment, click the + icon, then select your file.
Manual Time Card Adjustments
If your administrator has enabled it, you can make corrections to your own time cards.
Step 1: Navigate to My Time Card
Step 2: Find the entry you wish to edit and click the “edit icon” .
Step 3: After you’ve made adjustments, click “Save” at the bottom of the page. You can also choose to delete a punch (if needed).

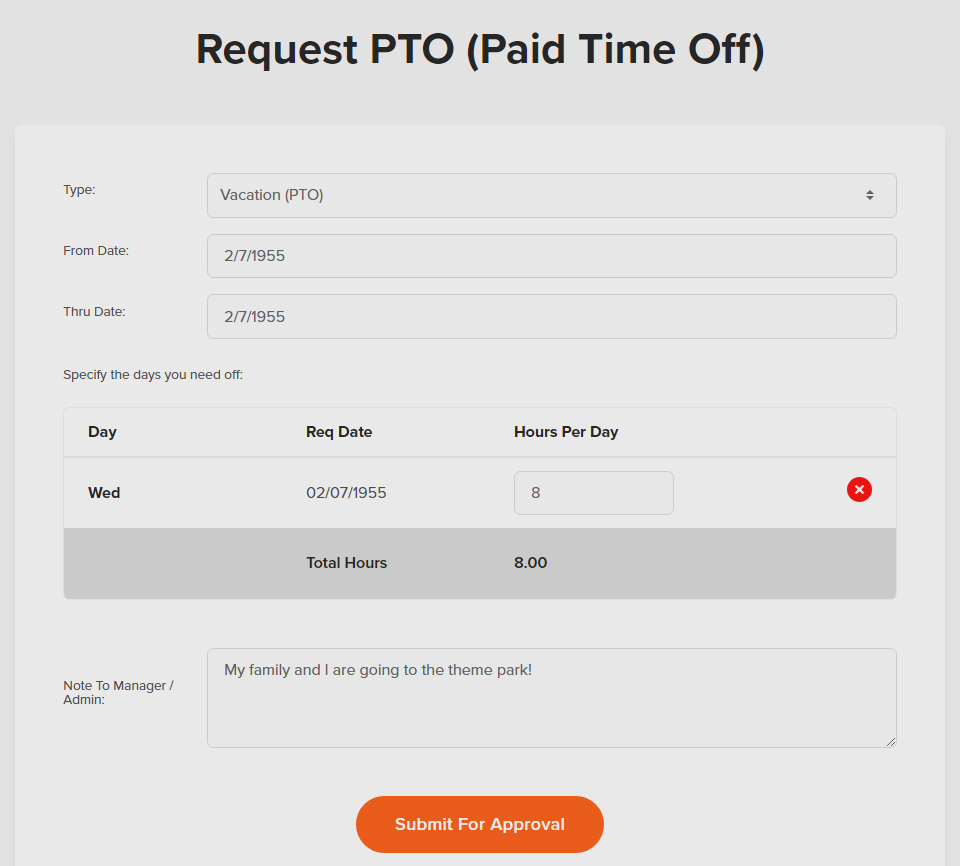
Request PTO
If enabled, you can request paid time off (PTO) with OnTheClock. Here’s how.
Step 1: Navigate to “PTO”.
Step 2: Click the “Request PTO” button.
Step 3: Specify the type of PTO you want to request (i.e., “Vac” for vacation).
Step 4: Enter the dates. If only one day is needed, your “From Date” and “Thru Date” should be the same.
Step 5: Add a note to let your manager or administrator know the reason for your request.
Step 6: Click the “Submit For Approval” button.

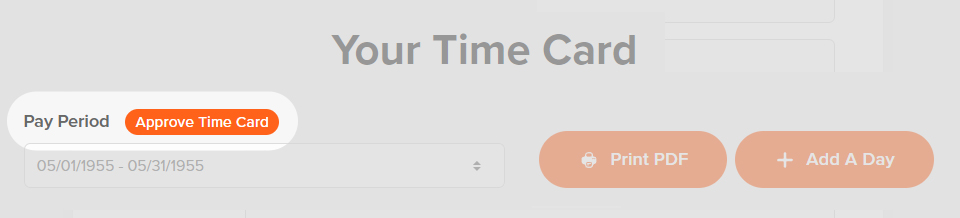
Approve Time Card
Your manager may ask you to review and approve your time cards for accuracy.
Step 1: Click “My Time Card”.
Step 2: Set the pay period for review.
Step 3: When ready, click “Approve Time Card”.
Step 4: If required, enter your initials and hit “OK”.
Switch Jobs
Your administrator may set up different jobs for you throughout your shift. Here’s how to switch from one job to another.
Step 1: Log in and view your “Time Clock” page.
Step 2: Select “Switch Job” from the bottom of the page.
Step 3: Make your selections from the drop-down lists and hit the “Update” button to save.

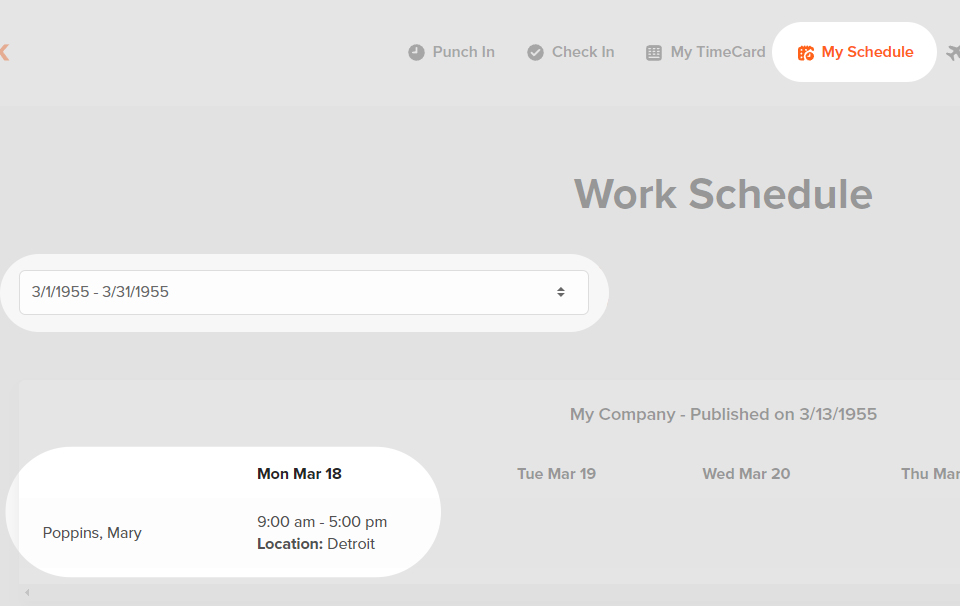
Schedule
Wondering when you need to be at work? You can view your published schedule with OnTheClock — we’ll email you a link when your schedule goes live.
Your administrator may also allow you to view your schedule directly from your OnTheClock account. Here’s how.
Step 1: Log in.
Step 2: Navigate to “My Schedule” at the top of the screen.
Step 3: Select the date range for shifts you’d like to view.
Live Messaging
OnTheClock’s live messaging feature allows you to chat inside the app. Whether you’re on a browser or our mobile app, click the “chat icon
” to view messages. You can also click the + icon to start a new conversation.
![]()
Mileage
Your administrator may allow you to enter mileage on your time card. If so, when clocking out, enter your miles in the “Mileage” field. You can also edit your time cards to add mileage:
Step 1: Navigate to “My Time Card”.
Step 2: Select the entry you wish to modify.
Step 3: Enter your information under “Additional Mileage” and click “Add”.
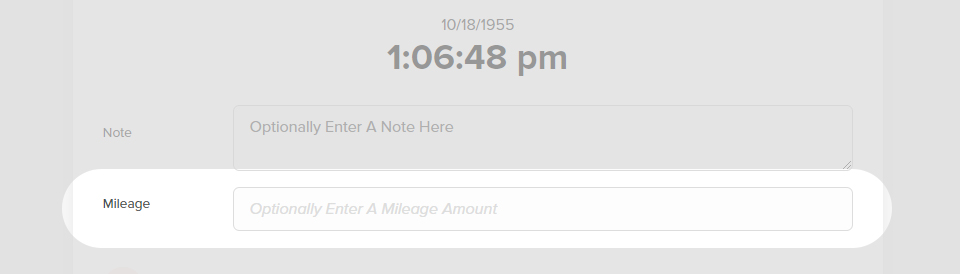
Don’t need to track miles at work? Your account administrator has the ability to customize the “Mileage” field and rename it. For example, they may rename this field to “Units” and ask you to input units sold for the day.
web:end
app:start
Clocking In and Out
Step 1: Open the OnTheClock appStep 2: Select “Punch In/Out” from your Dashboard or the Punch tab.
Step 3: When you’re ready to clock out, tap your app open and click “Punch In/Out” again.
Note: Your OnTheClock administrator may have additional punch settings enabled like surveys, jobs, and check ins. If that’s the case, you may be prompted to do more as you clock in/out. Keep reading to learn more about how to use these features.
Password Reset
Forget your password? We’ll help you get back online.
Open your app. When prompted to log in, select “Forgot Password?”
Additional OnTheClock Features
Your administrator may set up additional features for your OnTheClock account. Here’s how to take advantage of them.
Check Ins
Checking in allows you to show you are clocking in at a specific location or at a particular time.
Step 1: Open your OnTheClock app.Step 2: Navigate to “Punch In/Out” at the bottom of the screen.
Step 3: If necessary, add additional information, like notes and attachments.
Step 4: Click “Check-In”.
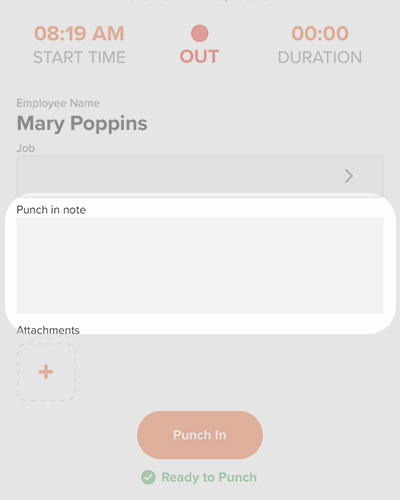
Notes
When clocking in and out, you can leave an optional note for your manager in this field. For example, remind them that you’ll be leaving early for a doctor’s appointment. This is also a good place to record if you made an error when punching the clock.
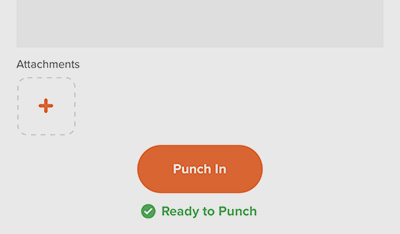
Attachments
If enabled, you can attach an image to your punch. For example, snap a photo of a receipt for reimbursement. To upload an attachment, click the + icon, then select your file.
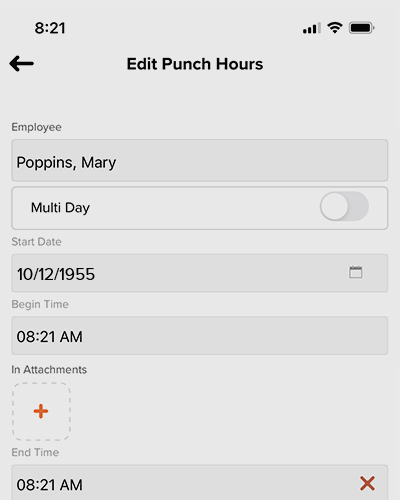
Manual Time Card Adjustments
If your administrator has enabled it, you can make corrections to your own time cards.
Step 1: Navigate to “Time Cards”.Step 2: Find the entry you wish to edit and tap on it.
Step 3: After you’ve made adjustments, click “Save” at the bottom of the page. You can also choose to delete a punch (if needed).
Request PTO
If enabled, you can request paid time off with OnTheClock. Here’s how.
Step 1: Open your app and navigate to “More”.
Step 2: Tap on the “PTO icon” at the bottom of the page.
Step 3: Tap on the + icon at the top of your PTO Summary.
Step 4: Specify the type of PTO you want to request (e.g., “Vac” for vacation).
Step 5: Enter the dates. If only one day is needed, your “From Date” and “Thru Date” should be the same.
Step 6: Add a note to let your manager or administrator know the reason for your request.
Step 7: Click the “Request PTO” button.

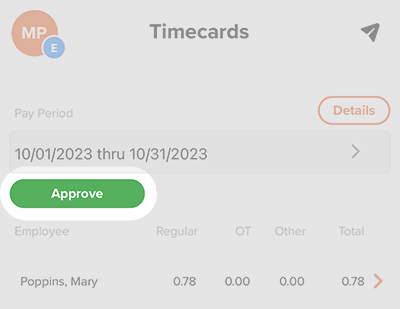
Approve Time Card
Your manager may ask you to review and approve your time cards for accuracy.
Step 1: Click “Time Cards”.
Step 2: Set the pay period for review.
Step 3: When ready, tap “Approve”.
Step 4: If required, enter your initials and hit “OK”.
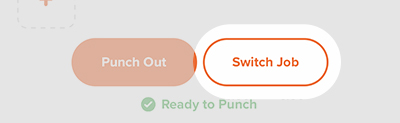
Switch Jobs
Your administrator may set up different jobs for you to do throughout your shift. Here’s how to switch from one job to another.
Step 1: Open your app and navigate to the “Punch” tab.
Step 2: Select “Switch Job” from the bottom of the page.
Step 3: Make your selections from the drop-down lists and hit the “Update” button to save.
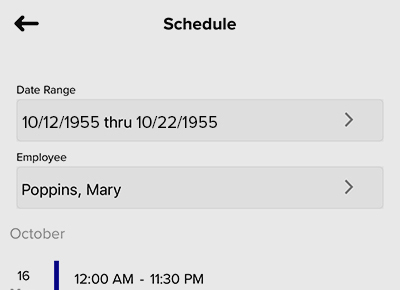
Schedule
Wondering when you need to be at work? You can view your published schedule with OnTheClock — we’ll email you a link when your schedule goes live.
Your administrator may also allow you to view your schedule directly from your OnTheClock account. Here’s how.
Step 1: Open your app.
Step 2: Tap on “More” at the bottom of the screen.
Step 3: Navigate to “Schedule”.
Step 4: Select the date range for the shifts you’d like to view.

Live Messaging
OnTheClock’s live messaging feature lets you chat in-app. Whether you’re on a browser or on our mobile app, click the “chat icon
” to view messages. You can also click the + icon to start a new conversation.
![]()
Mileage
Your administrator may allow you to enter mileage on your time card. If so, enter your miles in the “Mileage” field when clocking out. You can also edit your time cards to add mileage:
Step 1: Navigate to “My Time Card”.
Step 2: Tap on the entry you wish to modify.
Step 3: Select “Add Punch” or “Add Hours.”
Step 4: Enter your mileage into the “MIL” field, then click “Save”.
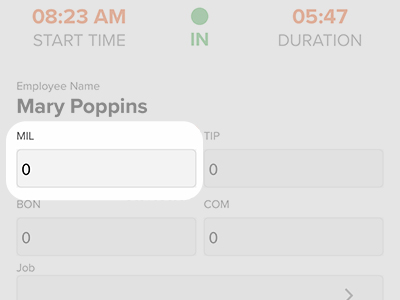
Don’t need to track miles at work? Your account administrator has the ability to customize the “Mileage” field and it. For example, they may ask you to input units sold for the day and rename this field to “Units.”
app:end