Overview
Employee groups are used to manage the default settings for multiple employees. Employees assigned to a group will inherit the group settings. This is a great way to save time when you are managing a large staff.
Setup Creating Employee Groups
Step 1: Log in as an administrator via browser.
Step 2: Navigate to Settings, then Employee Groups.
Step 3: Click New Employee Group.
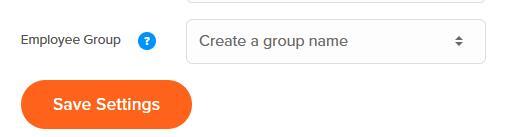
Step 4: Under General Settings, create a name for your group.
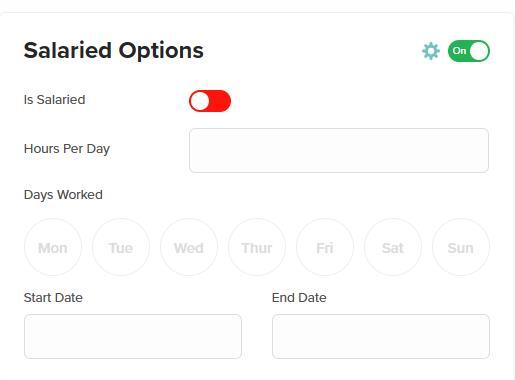
Step 5: Fill out the group profile settings.
Step 6: When ready, click Save Settings.
Adding Employees to Groups
After adding your employees to your OnTheClock account, they can be added to groups.
Step 1: Log in as an administrator or manager.
Step 2: Click My Team in the top menu, then select Team Directory.
Step 3: Click the edit icon next to the team member you’d like to update.
Step 4: Under General Settings, select your group from the dropdown list.
Step 5: Click Save Settings.
Exporting Employee Groups
The Employee Groups page lets you create and manage groups that maintain default settings for employees. Any employee assigned to a group will automatically inherit the group’s settings. You can also export the list of employee groups into a CSV file for reporting, analysis, or sharing.
How to Export Employee Groups
Step 1: Go to the Employee Groups page in your OnTheClock account.
Step 2: Click the Export button in the upper-right corner.
Step 3: Select the format (CSV).
Step 4: The file will download to your device. Open it with Excel, Google Sheets, or another spreadsheet tool.
What the Export Includes
Employee Group – The name of the group (e.g., “Full time employees,” “New hire”).
Dept – The department the group is assigned to (if applicable).
Employees Assigned – The number of employees currently assigned to the group.
Business Use Cases
HR Planning – Review how many employees are assigned to each group for resource planning.Department Analysis – Check distribution across departments to balance workloads.
Policy Audits – Confirm employees are properly grouped to inherit the right settings (e.g., PTO rules, schedules).
Onboarding Review – Ensure new hire groups are set up and being used consistently.
Data Sharing – Export and share with managers or HR teams to verify employee assignments.
Record Keeping – Maintain historical exports to track group changes over time.
What to Expect
Overriding Group Settings
Even if your employee is in a group, you can modify settings in their profile to override group settings.
Step 1: Log in as an administrator or manager via a browser.
Step 2: Click “My Team” in the top menu, then select “Team Directory” from the dropdown.
Step 3: Click the edit icon next to the team member you’d like to modify.
Step 4: Locate the setting you want to change.
Step 5: To make edits, toggle the gear icon from red to green.
Step 6: Click “Save Settings.”
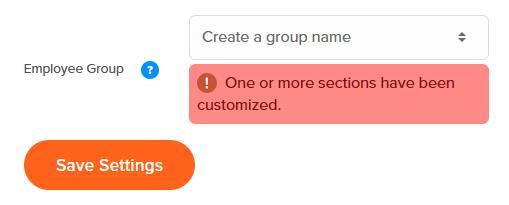
When there are customized settings outside the group, a message will display that looks like this one below.